Quick Setup
Quick Setup gets a new WiCAN PRO onto your home WiFi, talking to Home Assistant or your MQTT broker, reading your vehicle and sleeping when the car is parked. It takes about six minutes and runs in your phone's browser.
- You need
- A phone or laptop with WiFi, the password of your home WiFi, the car parked with the ignition on
- Access point
WiCAN_followed by twelve letters and digits, factory password@meatpi#- Setup address
http://192.168.0.10- Saves
- Nothing until the Review step: you can leave at any time with Exit setup
Parked, not driving
Do all of this with the car parked. Quick Setup needs the ignition on for the vehicle step, not the engine running.
Before the restart
-
Plug WiCAN PRO into the OBD-II port
On most cars the port is under the dashboard on the driver side, sometimes behind a small cover. The LED on WiCAN lights within a few seconds.
-
Join the WiCAN access point
On your phone, open the WiFi settings and pick the network whose name starts with
WiCAN_. The factory password is@meatpi#.Tip
Your phone may warn that this network has no internet. Stay connected anyway. Quick Setup changes this password before anything else is saved.
-
Open the setup page
In a browser, go to
http://192.168.0.10. A new WiCAN opens Quick Setup by itself. The list on the left shows every step, before and after the restart.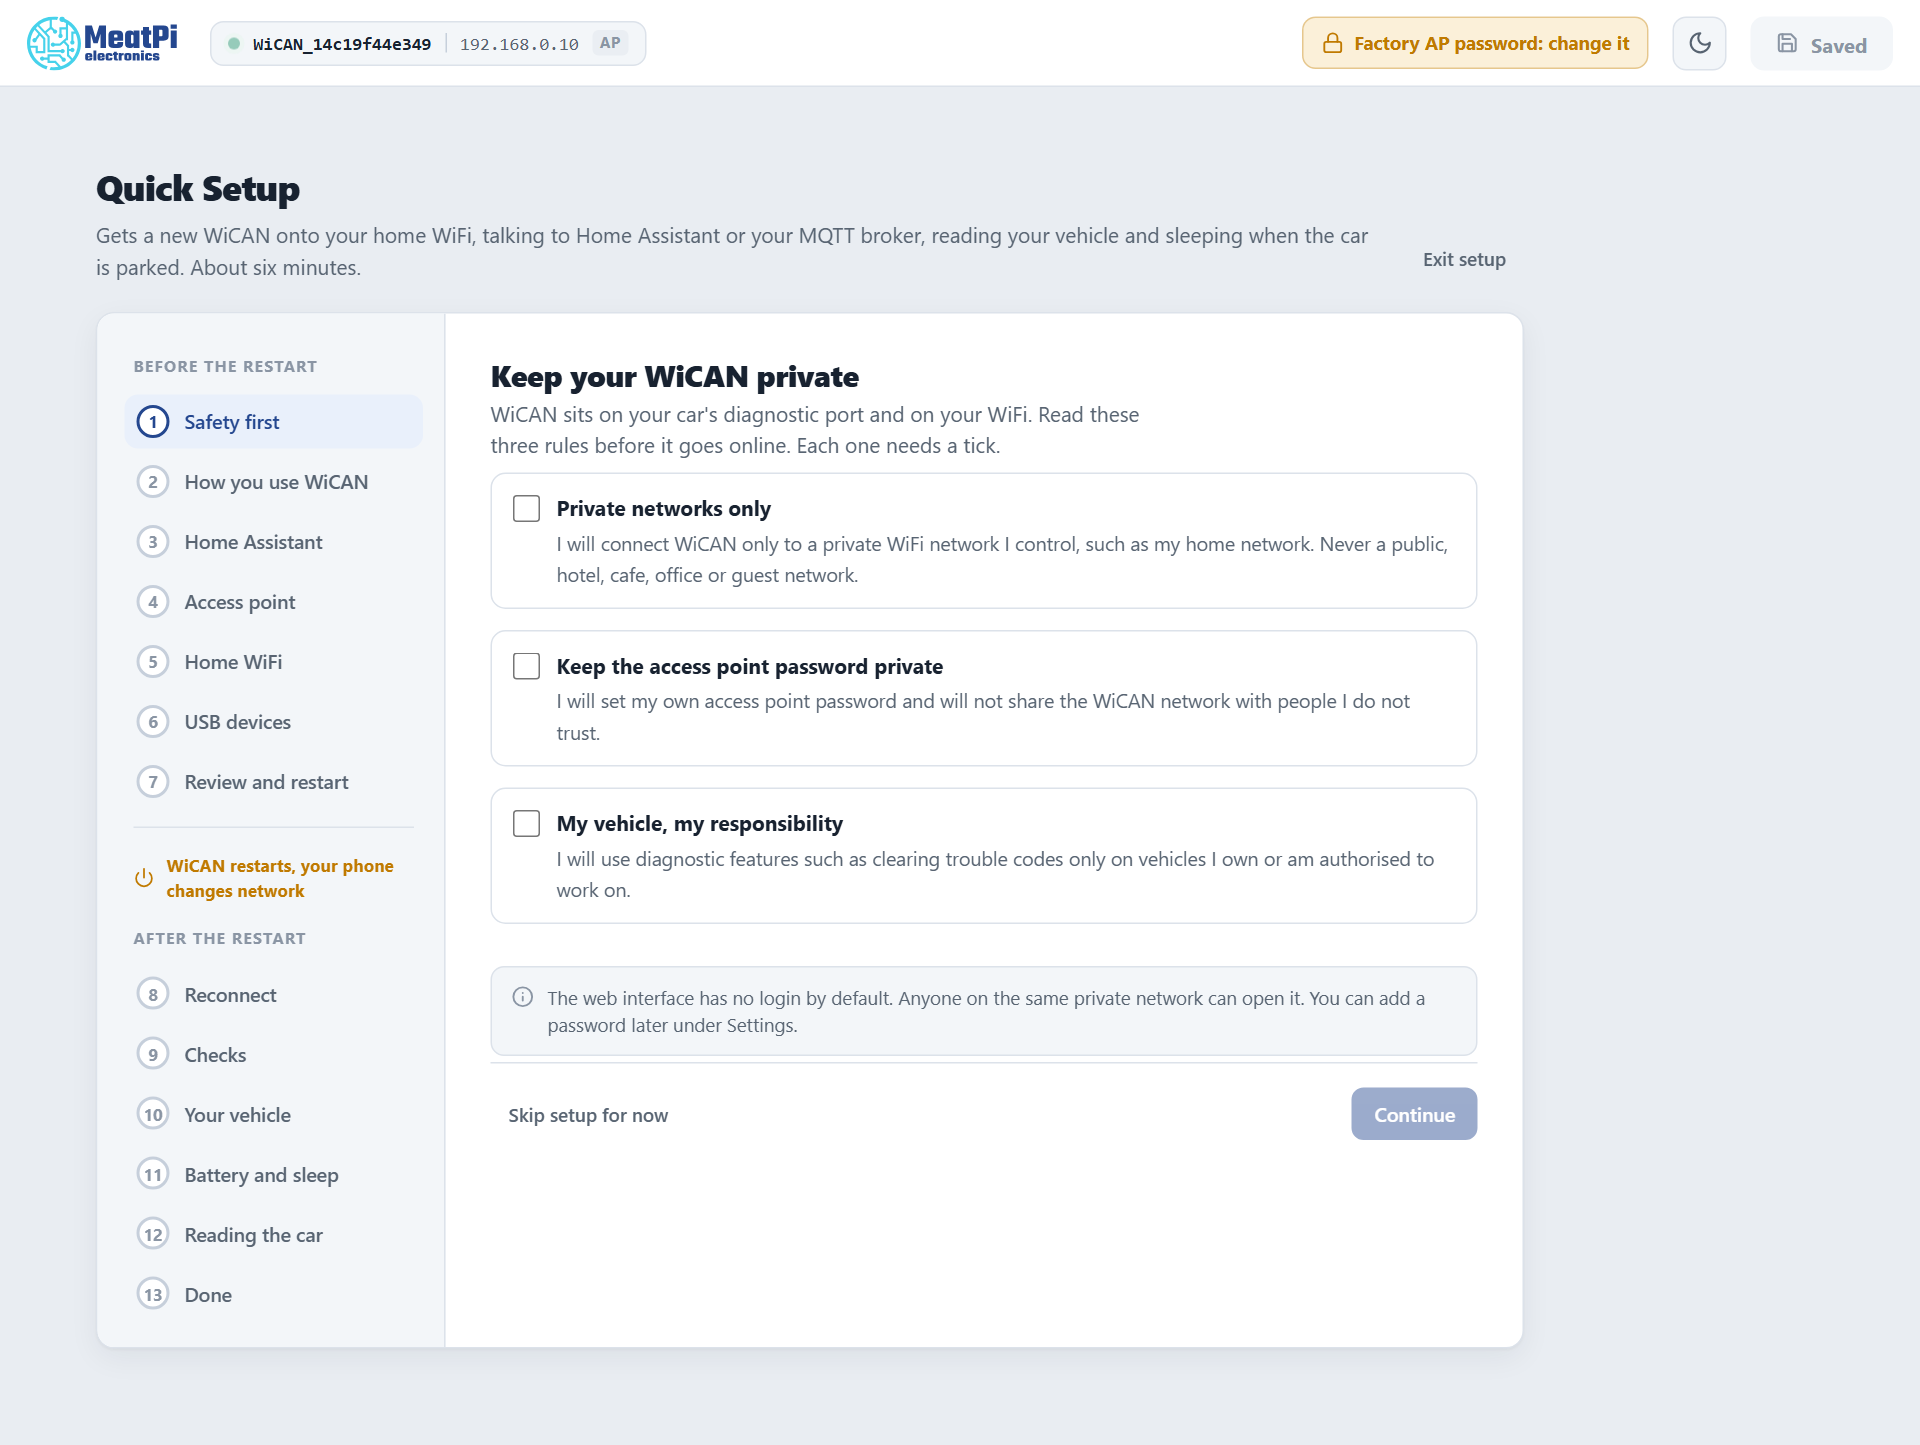
Quick Setup on a new device. The header shows the access point name and the setup address. -
Accept the three rules
Read the three rules and tick each one. Continue turns blue once all three are ticked.
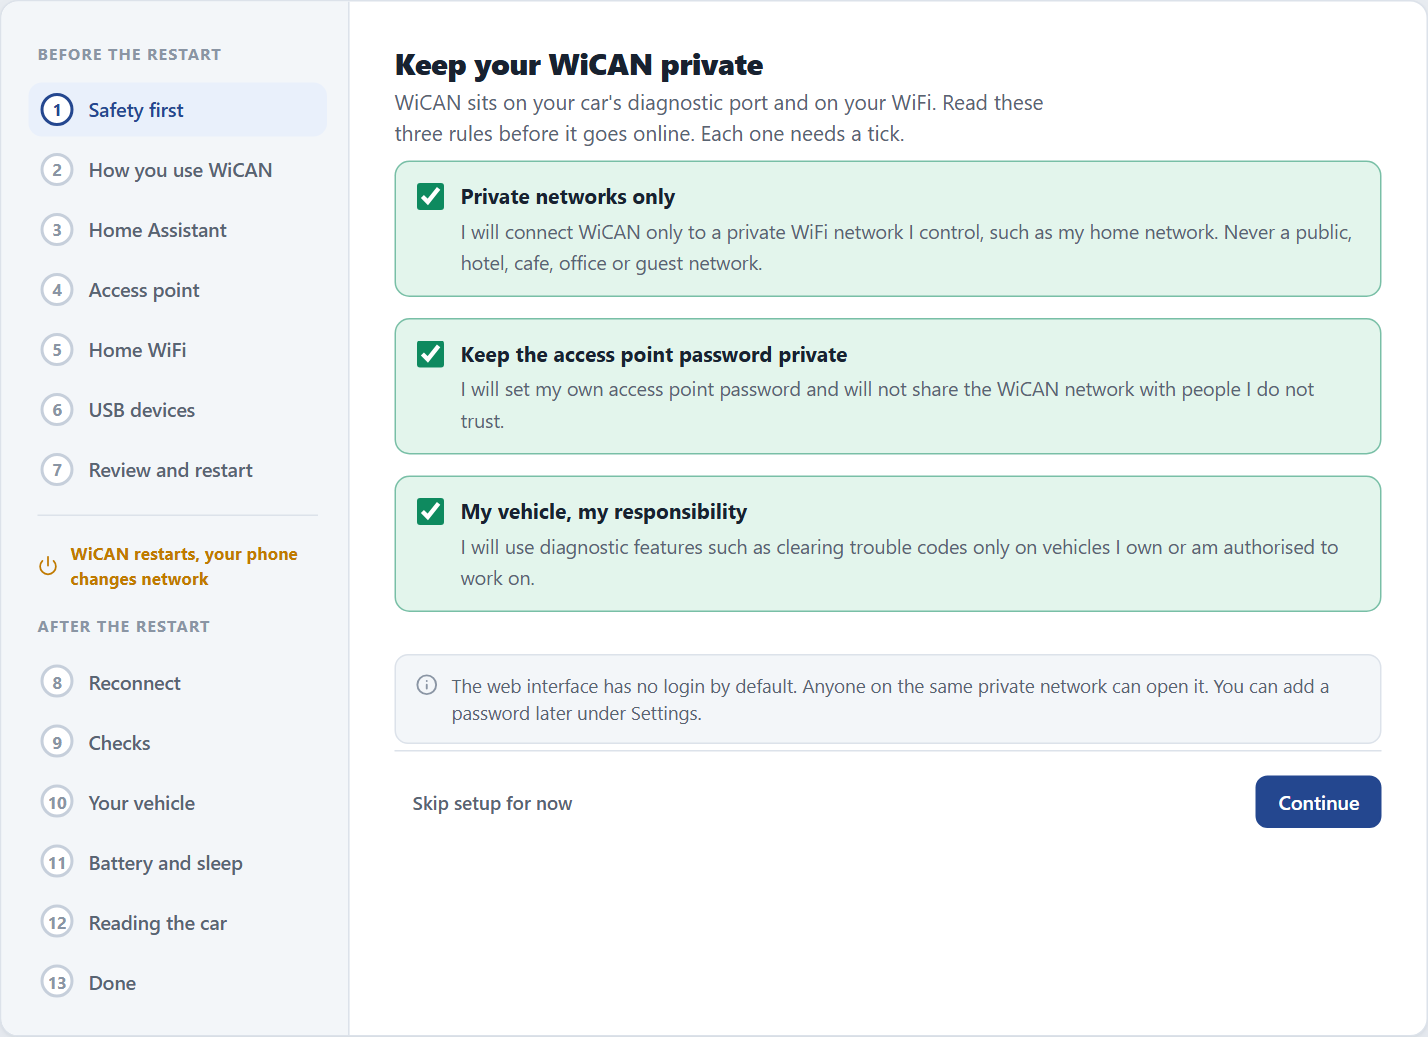
WiCAN stays on private networks only, keeps its password private, and diagnostics are for your own vehicle. -
Choose how you will use WiCAN
Pick the one that matters most. Everything else stays available in the full interface afterwards.
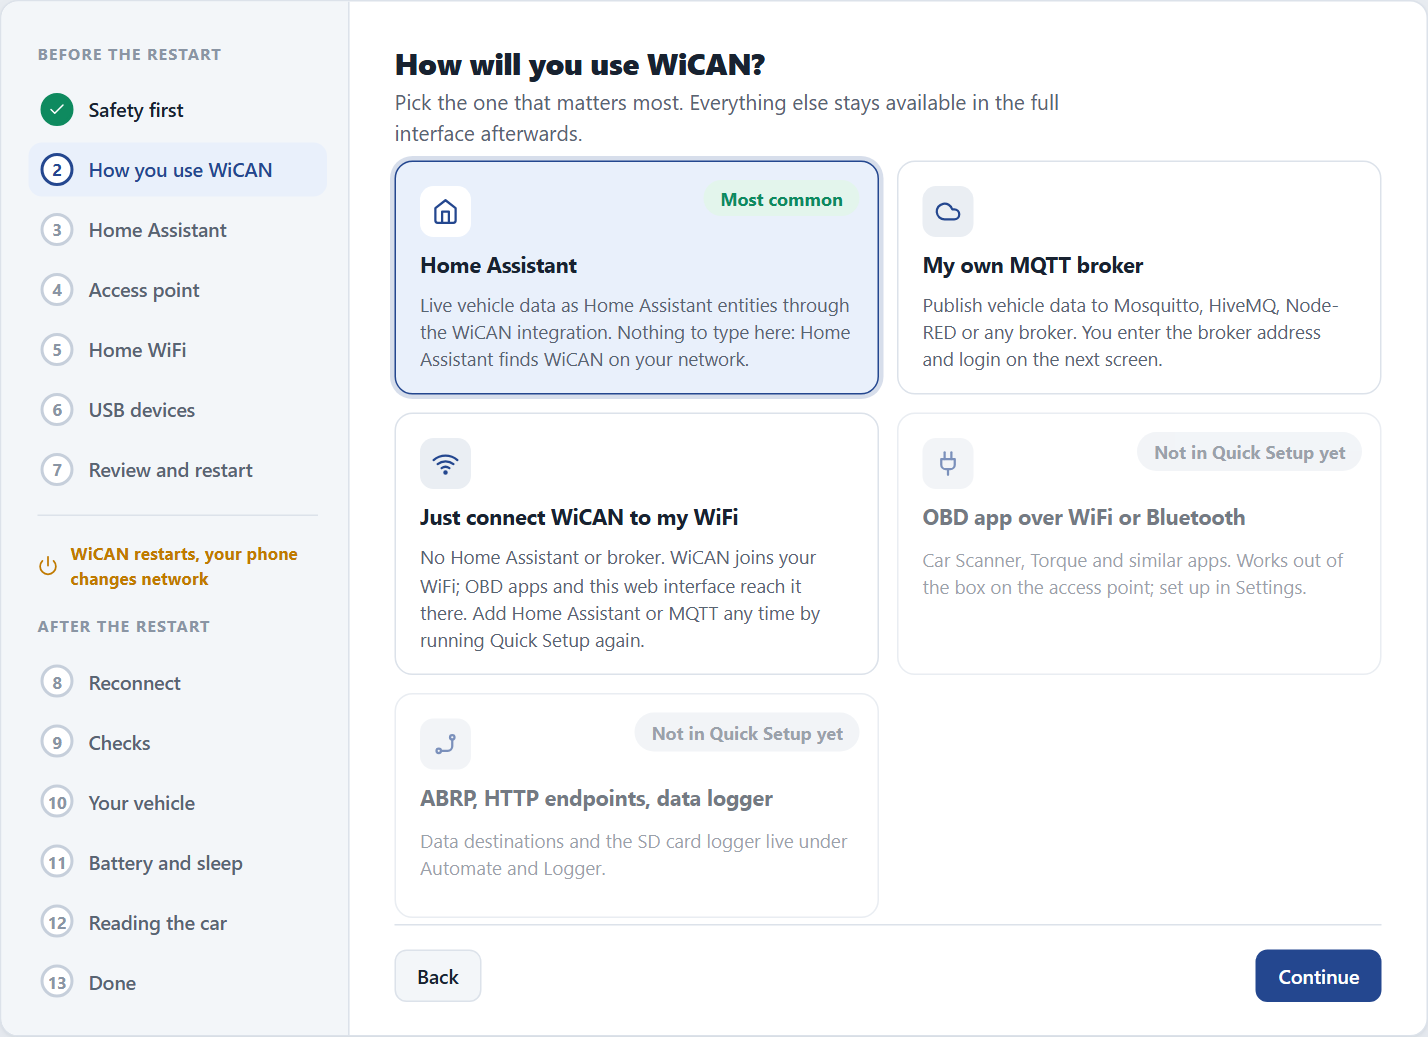
Home Assistant is preselected. The MQTT broker tile adds a step for the broker address and login. Choice What it sets up Home Assistant Nothing to type. Home Assistant finds WiCAN on your network after the restart. My own MQTT broker A step for the broker address, user name and password. Just connect WiCAN to my WiFi WiFi only. Add Home Assistant or MQTT later by running Quick Setup again. -
Home Assistant: nothing to type
This screen explains how the WiCAN integration registers your device. Read it and tap Continue.
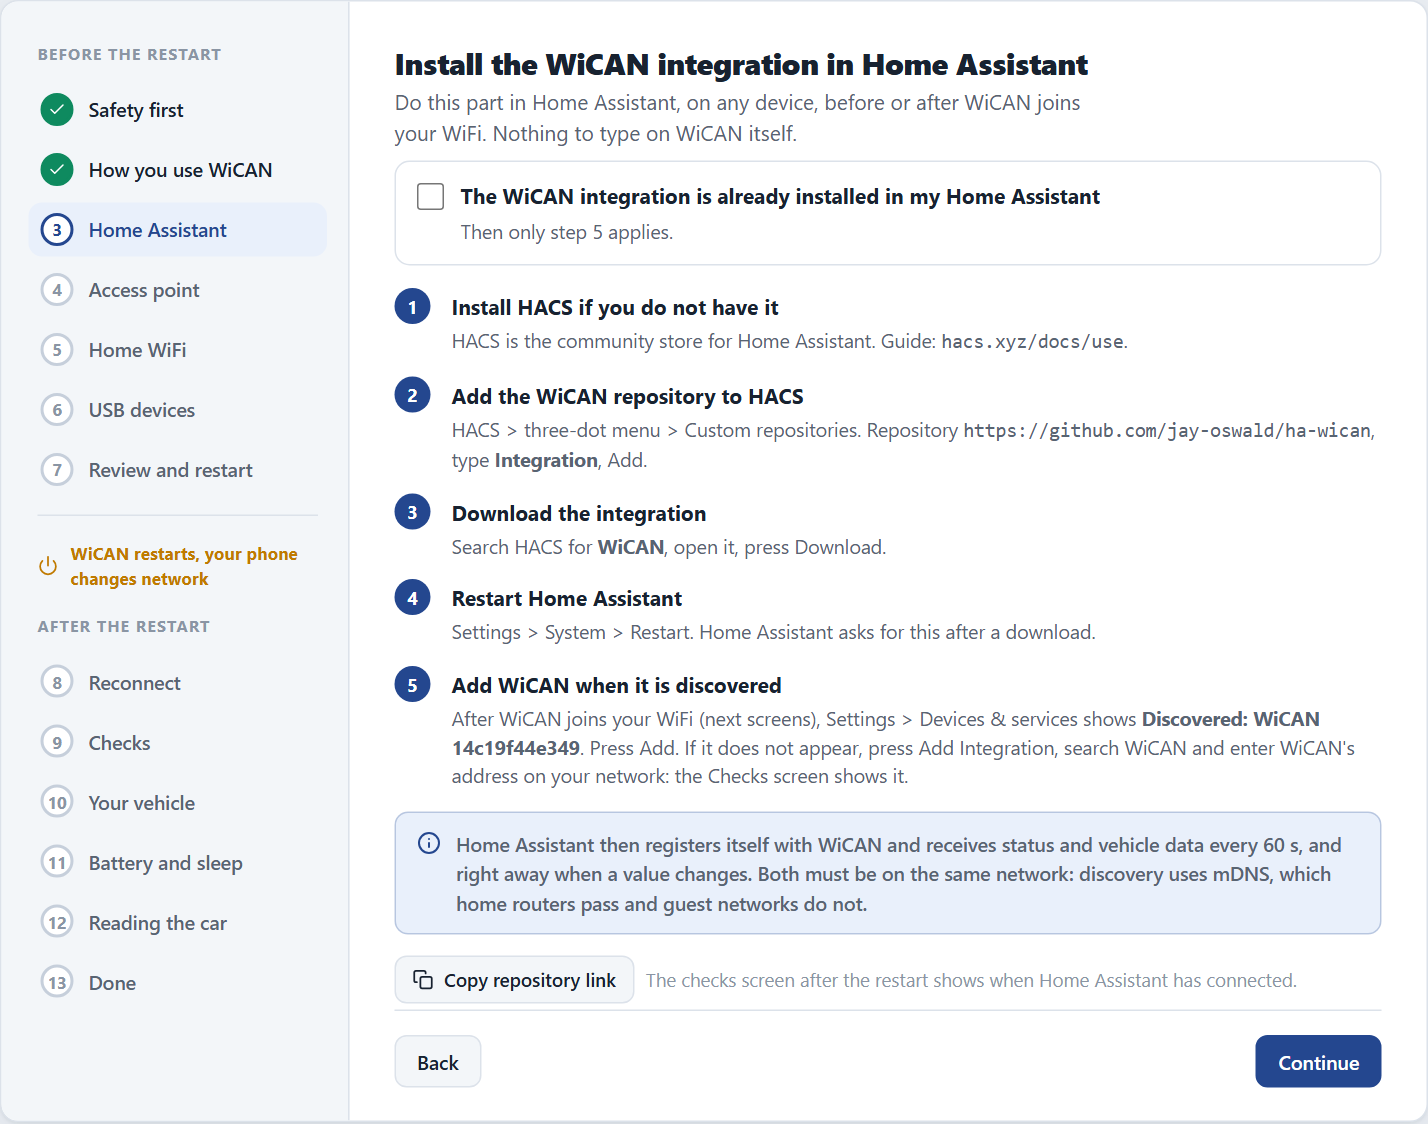
Home Assistant discovers WiCAN on your network; the integration guide covers the Home Assistant side. -
Set a new access point password
Type a password of your own twice. It replaces the factory password from the restart on.
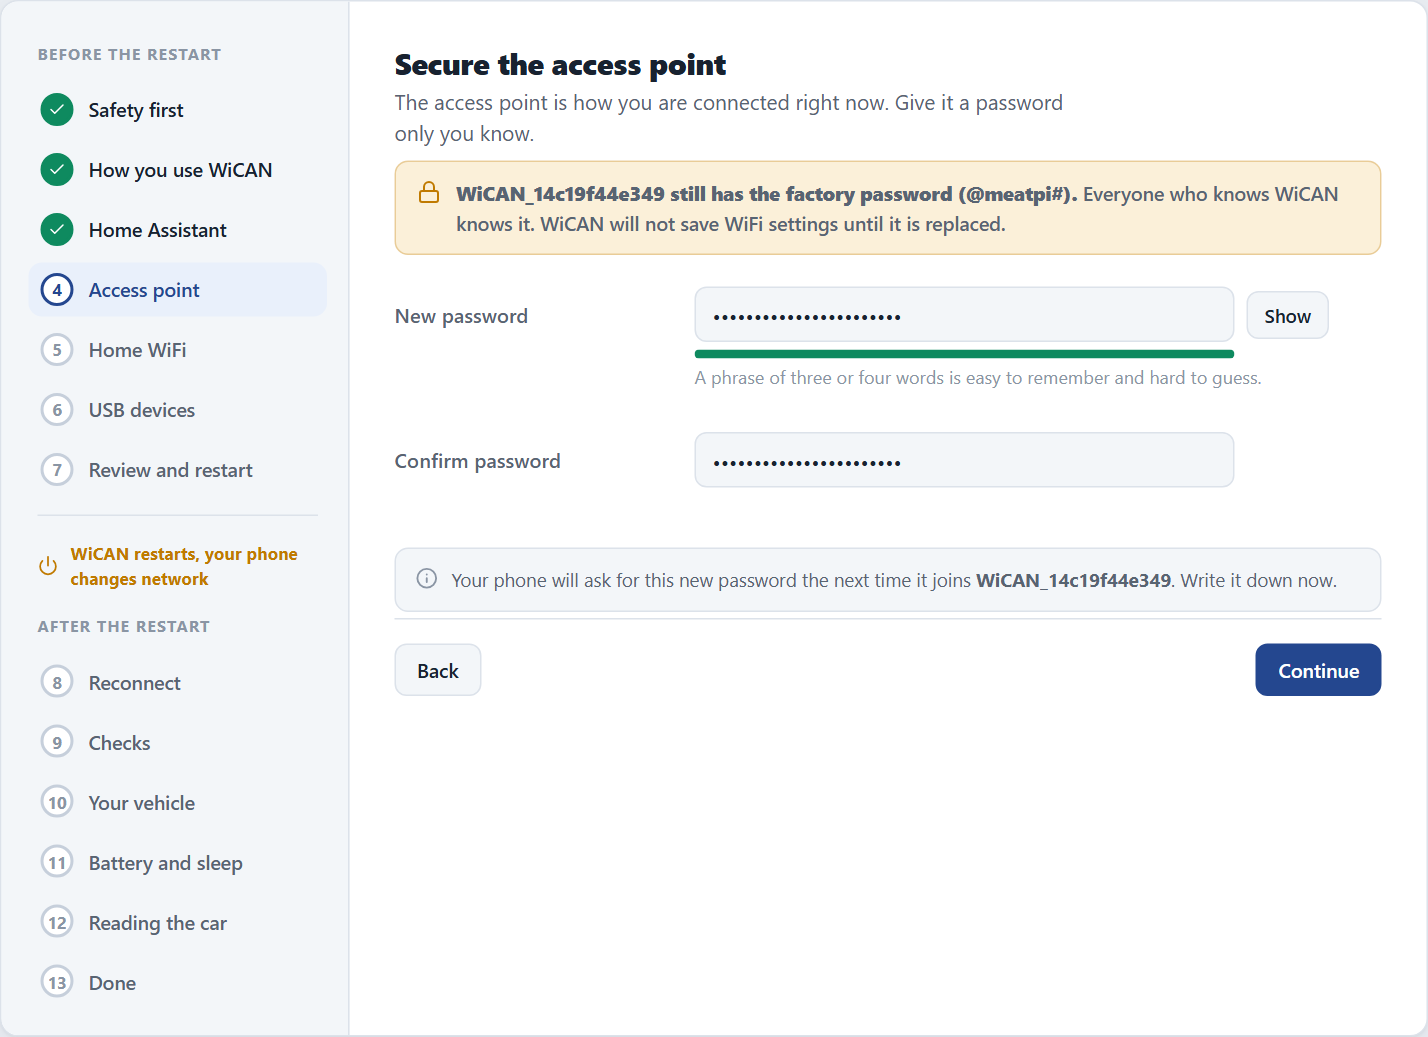
Pick something you can type on a phone: you will need it whenever you bring the access point back. -
Join your home WiFi and test it
Pick your network from the list (or open Network not listed? Enter it by hand), type its password and keep Station only selected. Tap Test and continue: WiCAN tries the network now, before anything is saved.
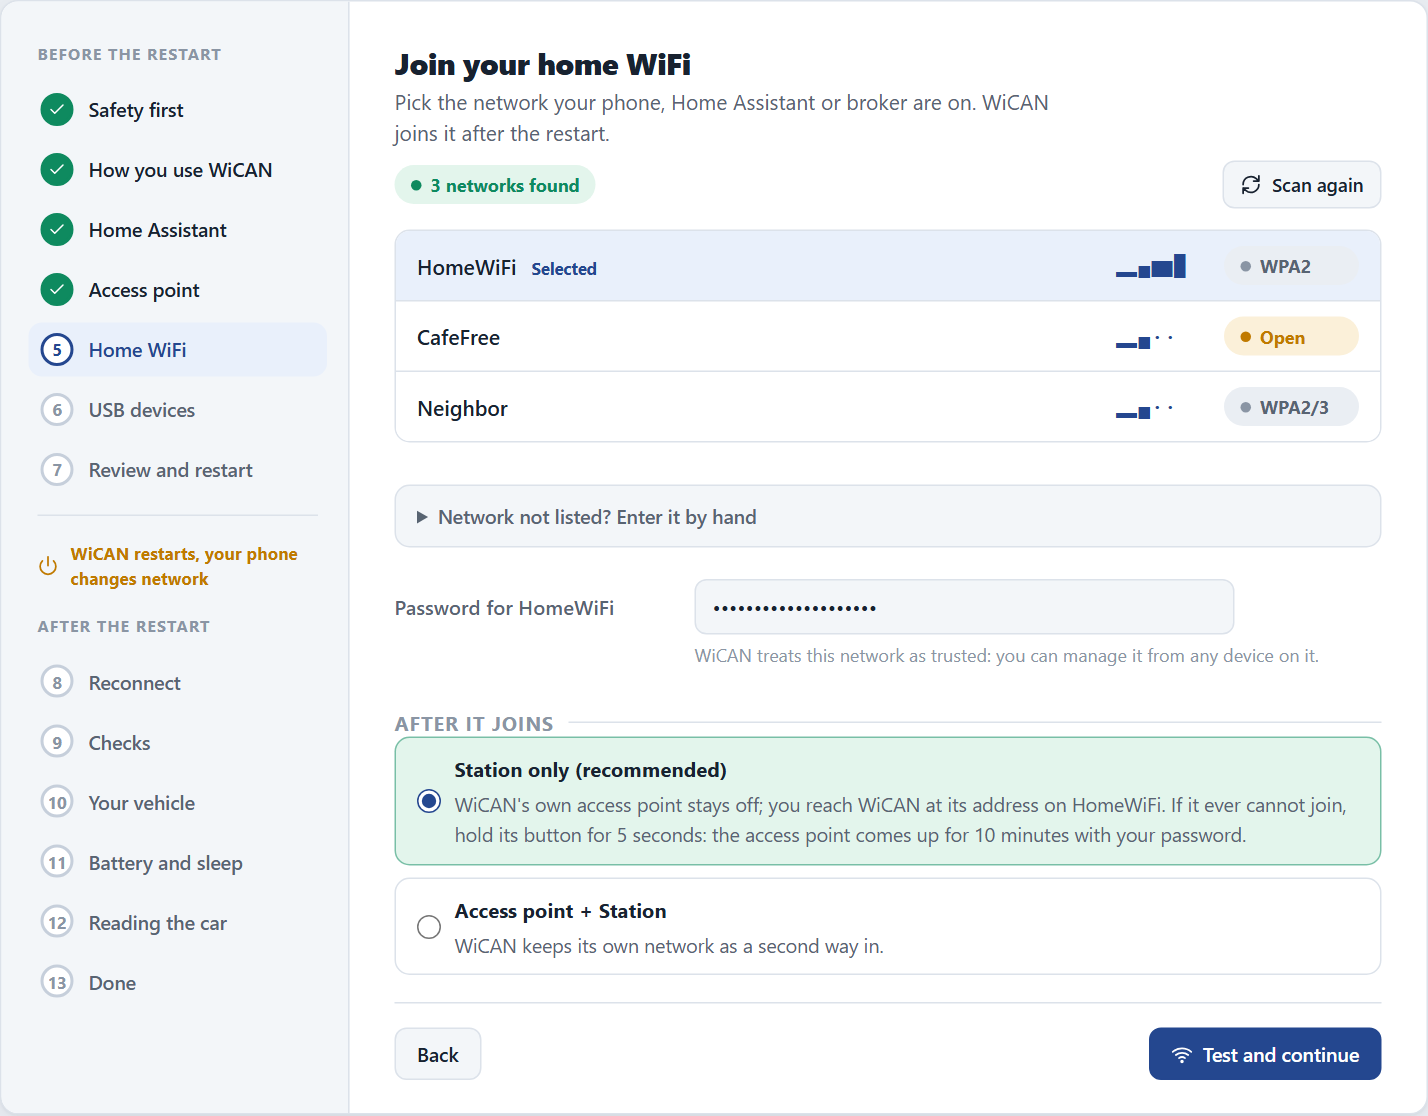
Station only is the recommended mode: the WiCAN access point turns off after the restart. 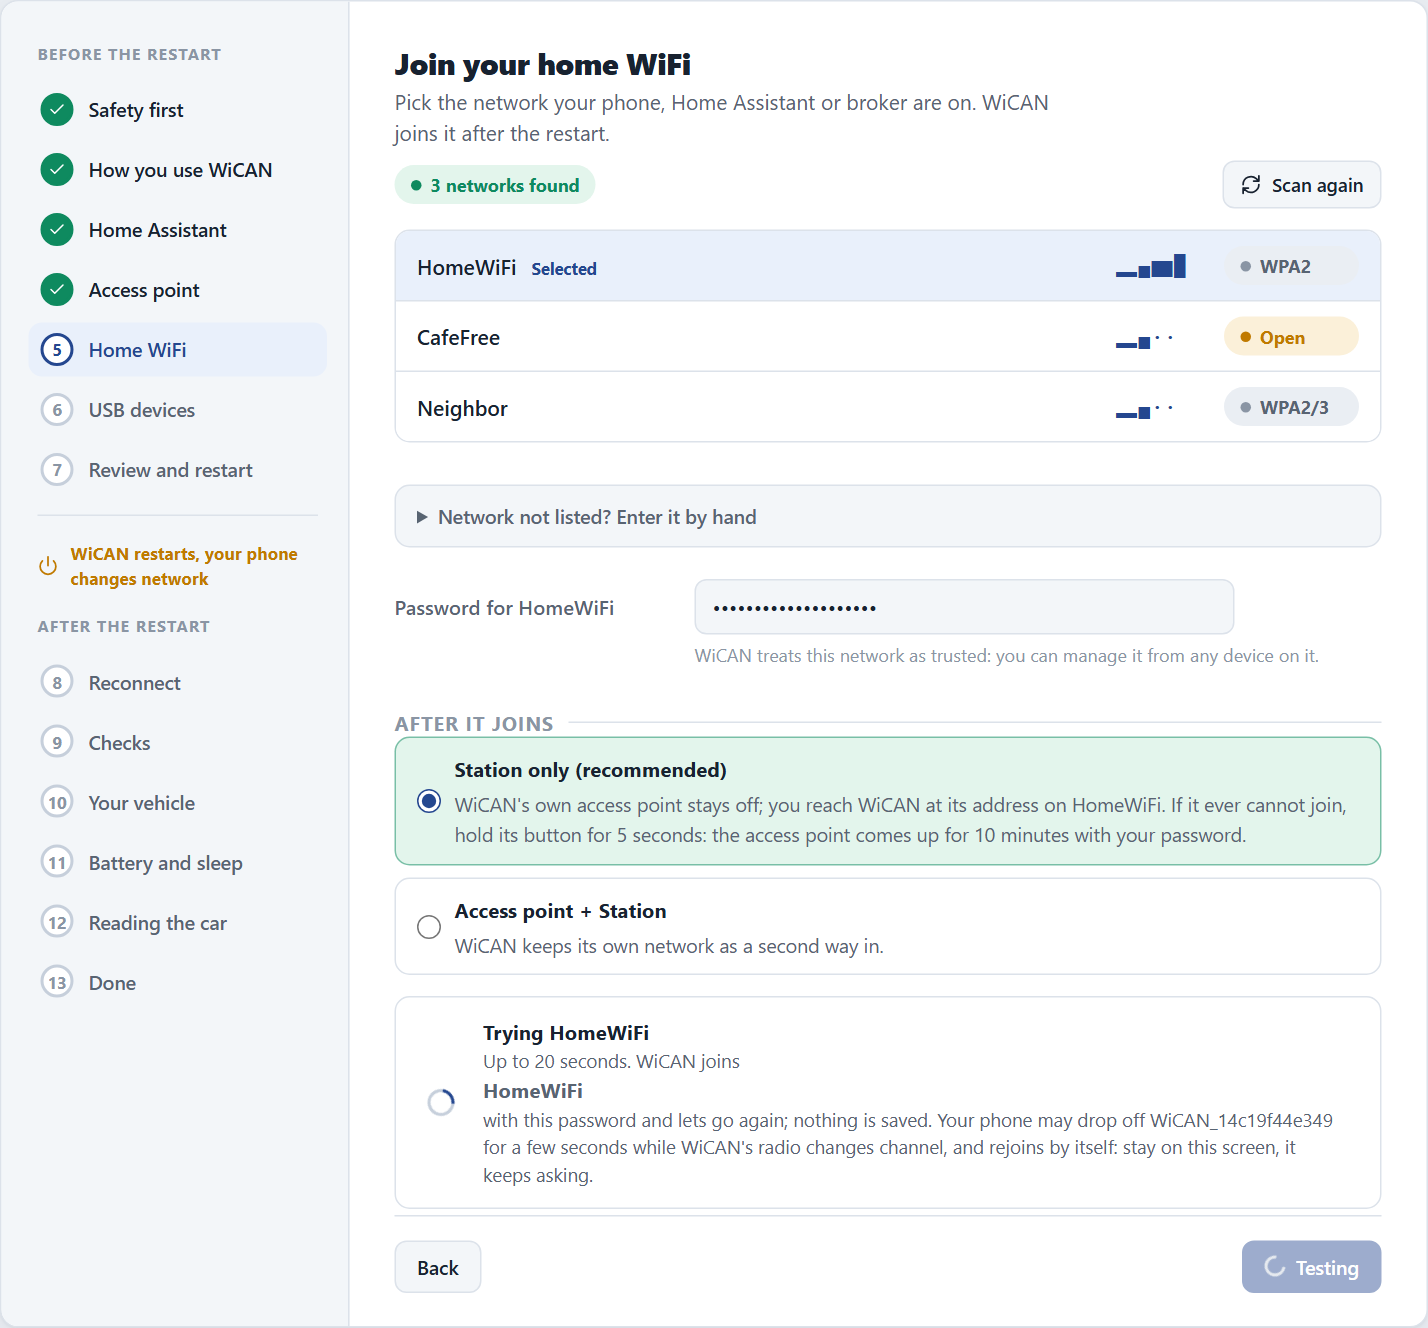
The test takes up to 20 seconds. Your phone may drop off the WiCAN network for a moment while the radio changes channel; it rejoins by itself. Private networks only
Use your home network, never a public, hotel, cafe or guest network. WiCAN joins 2.4 GHz networks.
No home WiFi where the car lives? With an ESPNetLink plugged in (a SIM in it), this step offers Use the ESPNetLink, no home WiFi: WiCAN keeps its own access point on as your way in and gets its internet over LTE. The next screens then stay on the access point, with no network switch.
-
USB devices
Anything on the USB connector (an ESPNetLink, a USB Ethernet adapter, a GPS receiver) is named here. Nothing plugged in? Just tap Continue.
An ESPNetLink shows its SIM, network, signal, internet and GPS read over the cable, and asks how WiCAN uses it: USB Ethernet (recommended) or WiFi modem; the carrier settings and a SIM PIN are folded under it, needed only when the carrier or the SIM asks. See USB accessories.
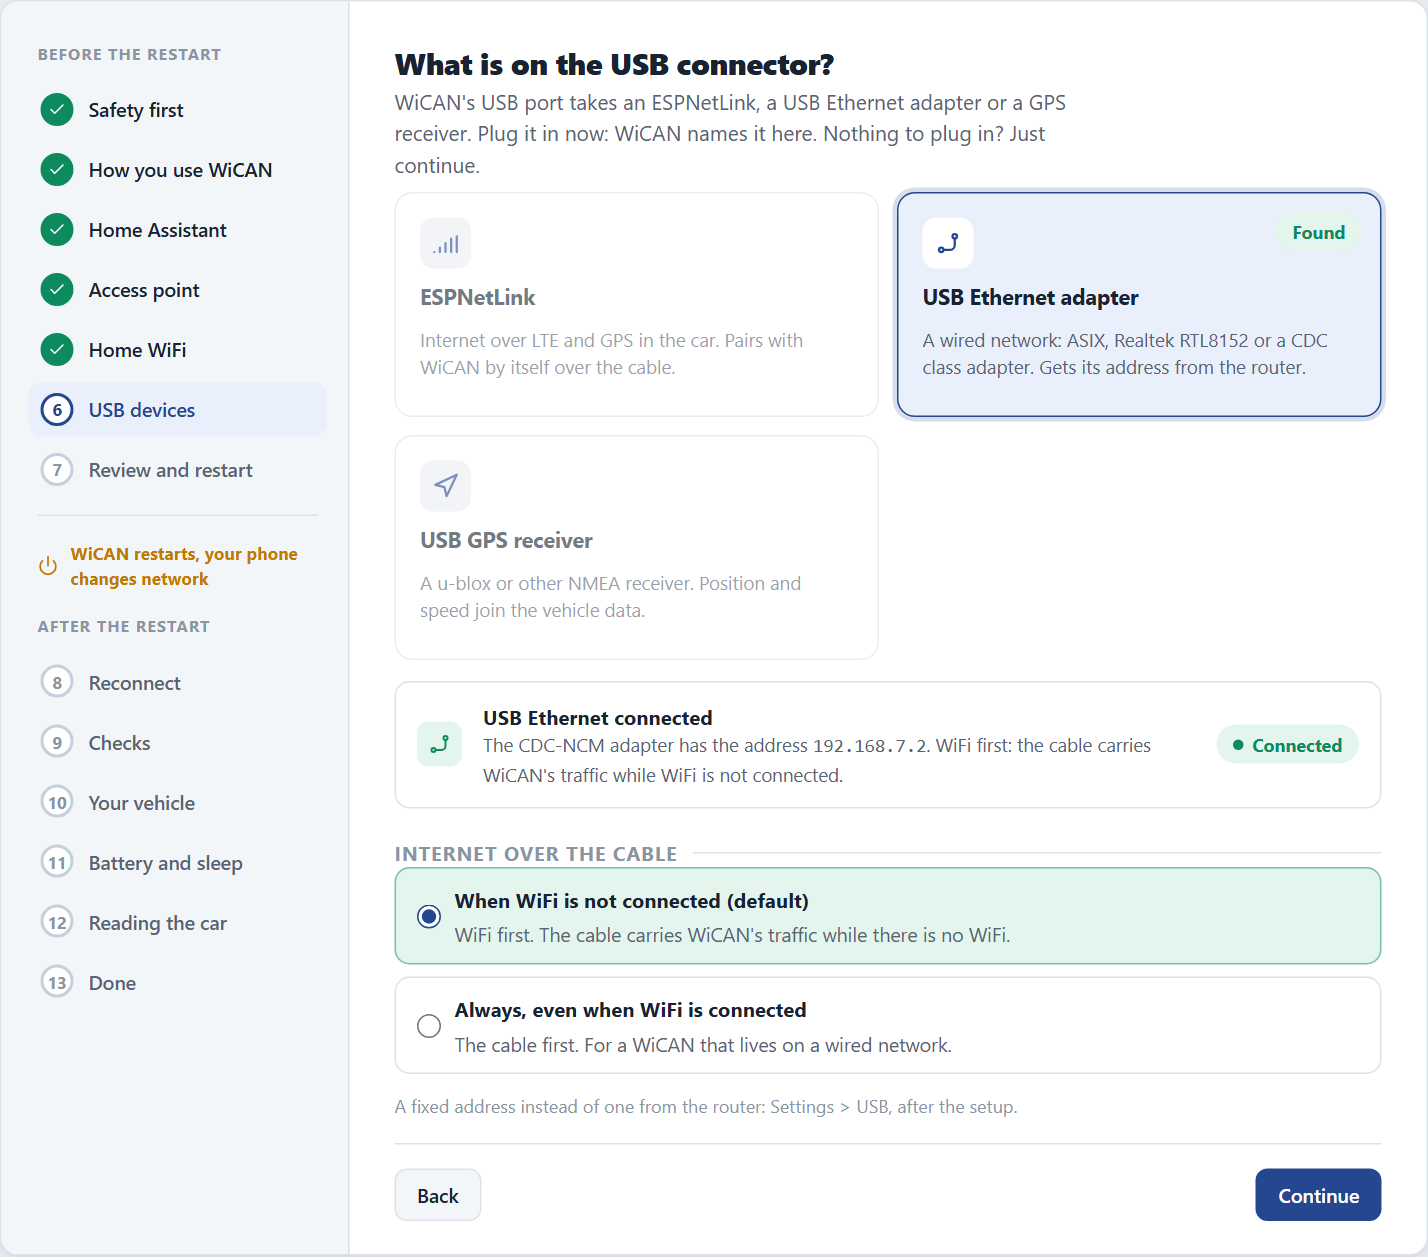
A found device shows its details; an Ethernet adapter also asks when the cable should carry WiCAN's traffic. -
Review, then restart
Check the summary. Everything below it is saved together in one restart. Tap Save and restart, then switch your phone to your home WiFi and open the link on the next screen.
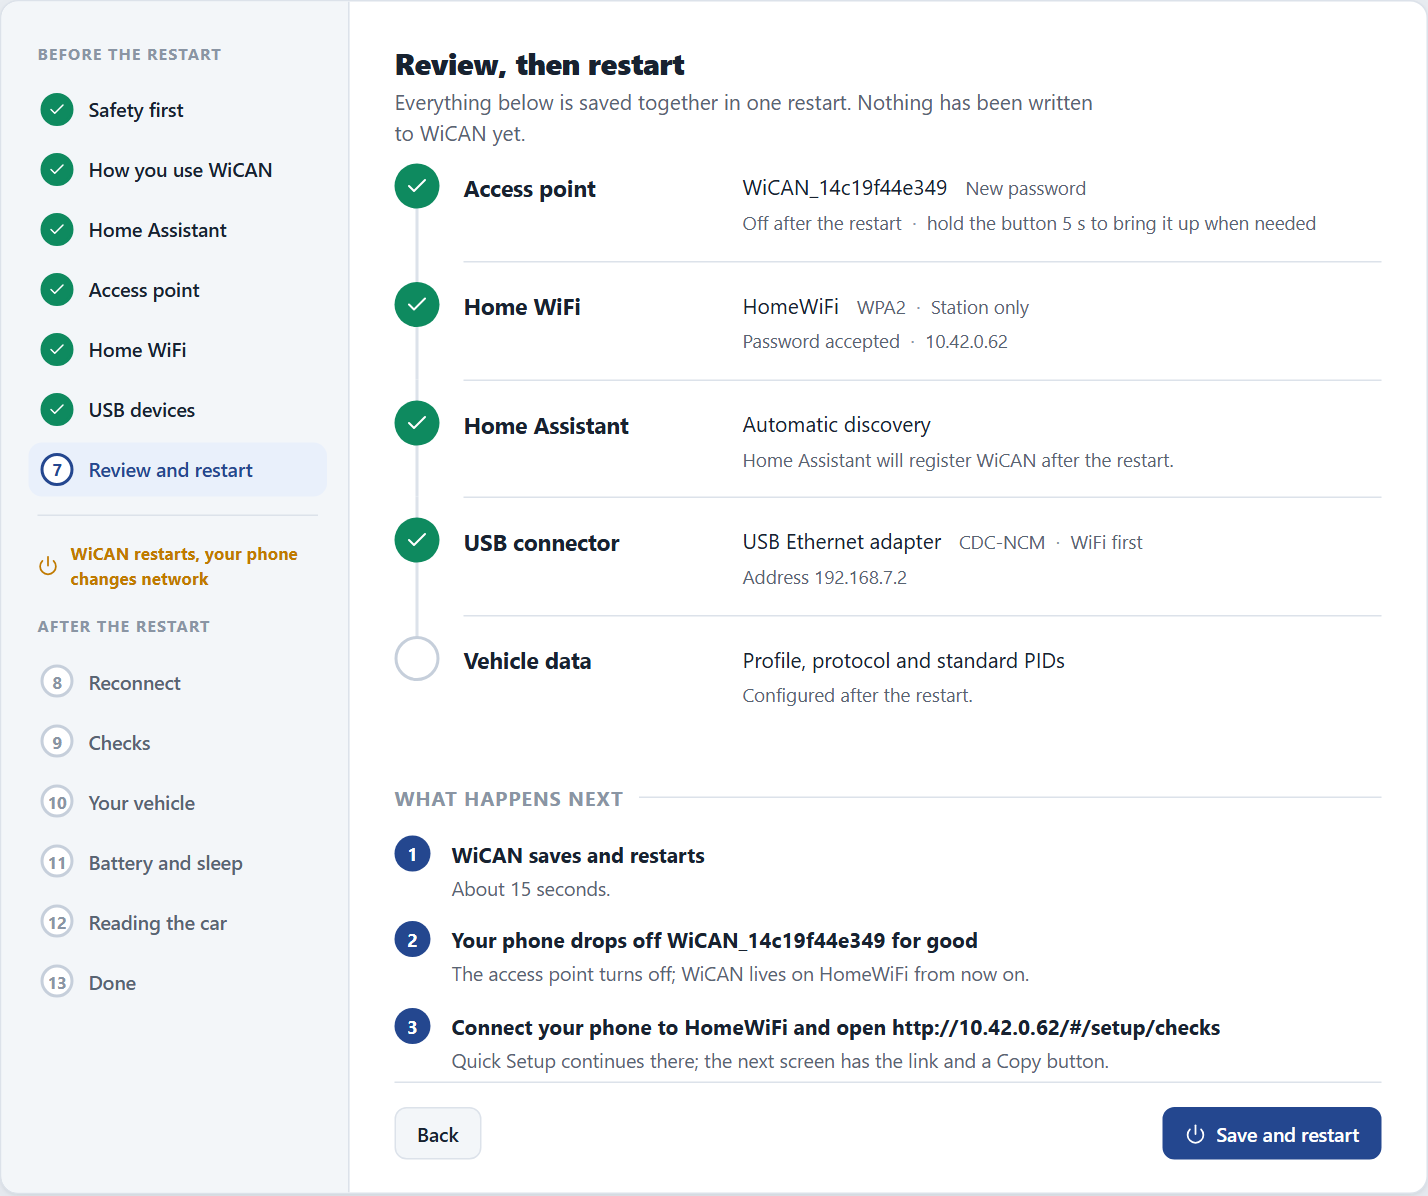
Nothing has been written to WiCAN before this point. 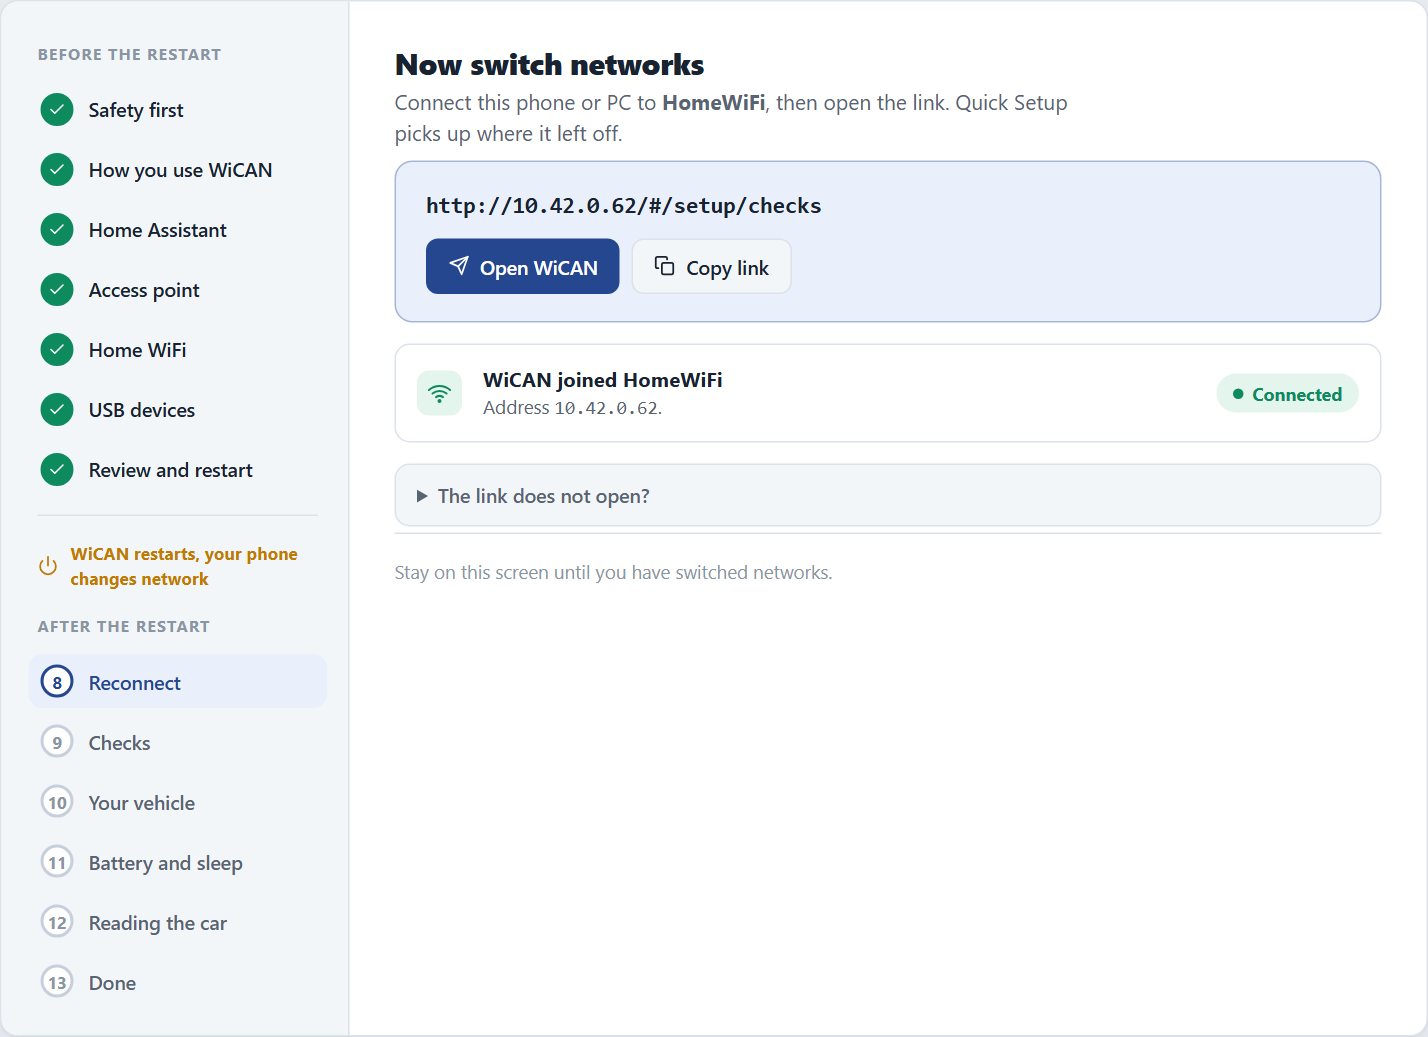
WiCAN joined the home network. Connect your phone to the same network and tap Open WiCAN, or copy the link.
After the restart
Quick Setup picks up where it left off on your home network: a few checks, your vehicle, battery and sleep, how the car is read. Continue with Quick Setup, after the restart.
The link does not open?
Make sure the phone is on the home network you chose, not still on the WiCAN network. The address is the one WiCAN received from your router; the reconnect screen shows it.